iPhoneアプリ「焼フォト」をリリースしました。
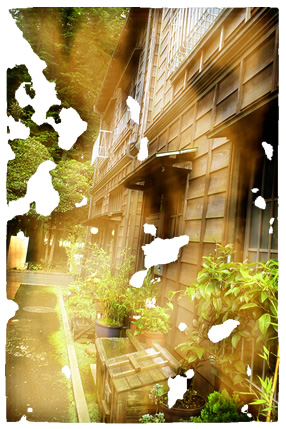
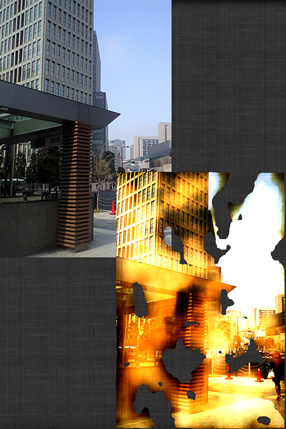
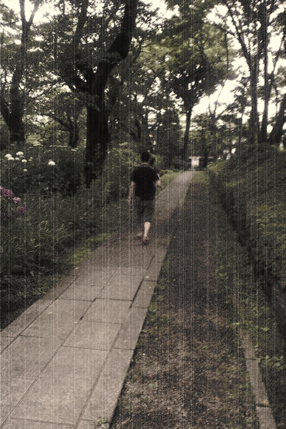
焼フォトは写真を火で焼いたような写真に加工するアプリです。
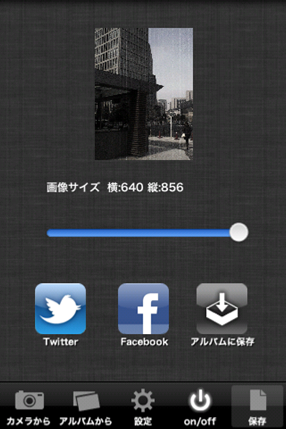
Twitter,Facebookに対応しており、作った写真をすぐにアップロードすることが出来ます。
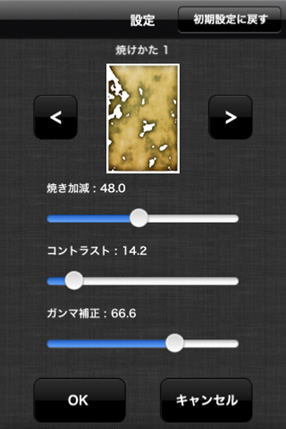
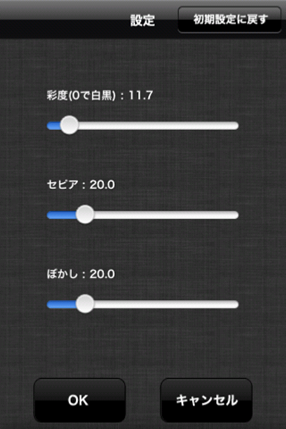
焼き加減、コントラスト、ガンマの度合いを調整して自分好みの設定で写真を加工しましょう。
主な機能
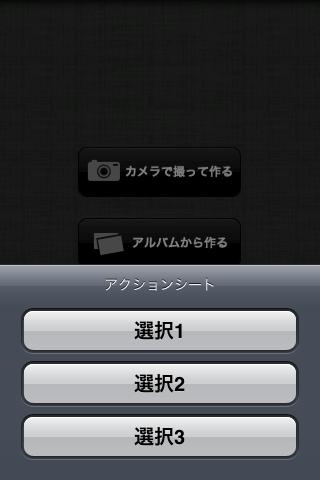
■撮った写真または保存されている写真を火で焼いたような写真に加工できます。
■焼き加減を調整できます。
■コントラストを調整できます。
■ガンマを調整できます。
■写真をTwitterへアップロードできます。
■写真をFacebookへアップロードできます。
■写真を使用中のiPhone,iPodへ保存できます。(写真はpng形式で保存されます)
BurnedPhoto is photo retouch App.
You can convert any photo to an image burned.
And You can upload photos to Twitter,Facebook.
Enable to adjust the FirePower,Contrast And Gamma.
Features
■Enable to convert any photo to an image burned.
■Enable to adjust Fire Power.
■Enable to adjust Contrast.
■Enable to adjust Gamma.
■Enable to upload photo to Twitter.
■Enable to upload photo to Facebook.
■Enable to save photo to your device.(saved photo is png format)
PhotoBrûlé est retouche photo App.
Vous pouvez convertir n’importe quelle photo pour une image brûlée.
Et vous pouvez télécharger des photos vers Twitter, Facebook.
Permettent de régler la puissance de feu, contraste et le gamma.
Features
■ Permettre de convertir n’importe quelle photo pour une image brûlée.
■ Permettre à ajuster puissance de feu.
■ Permettre à régler le contraste.
■ Activer pour régler Gamma.
■ Permettre à charger une photo sur Twitter.
■ Permettre à charger une photo sur Facebook.
■ Activer pour sauvegarder la photo sur votre appareil. (Photo est enregistrée au format png)

焼フォト
BurnedPhoto
PhotoBrûlé